
How to backward save a premiere pro project (open new files in older version)
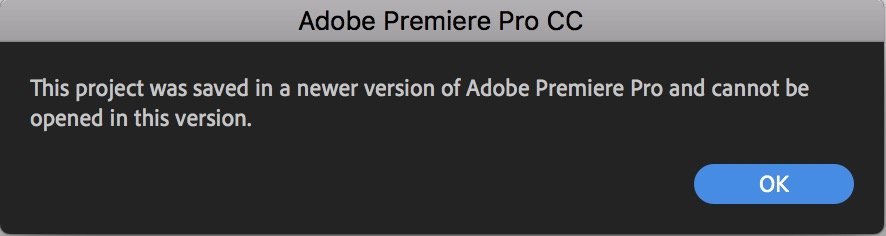
Have you ever had a problem opening a newer premiere pro project in an older version? If yes today we will show you how to open a new premiere pro project or downgrade a new premiere pro project in an older version. There are two methods once is the harder method the other one is a simple method I will show you both the methods beginning with the harder one.
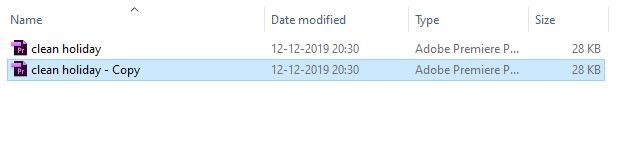
So first of all open your folder where your project file is kept and make a copy of the file. Always make a copy of your project before doing this process so incase if anything goes wrong you will always have a backup file. You can rename or keep it as it is. Now you will require a software called 7 zip.
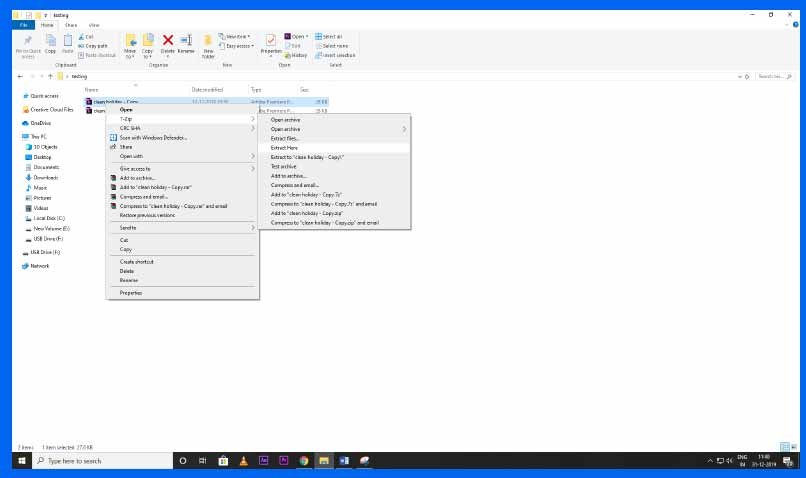
Now once you have downloaded the 7-zip software right click on your file go to 7-zip and then click on extract here.

Once you have extracted you will get another files as you can see in the picture above.

Now right click on the new file and open it with notepad
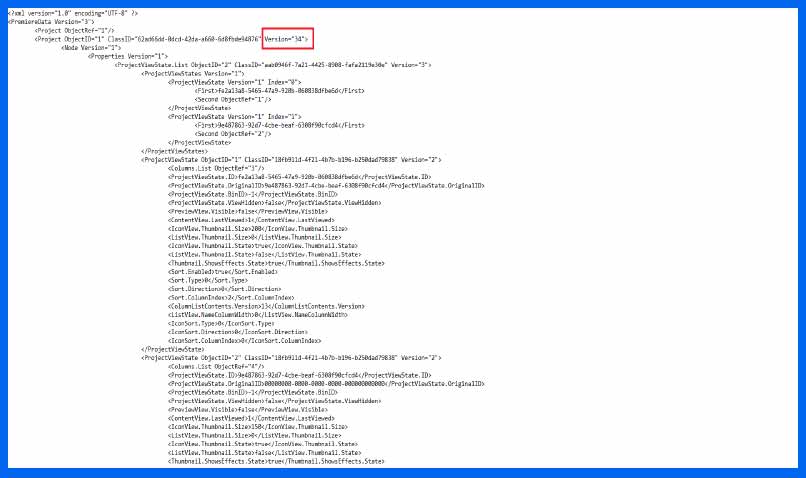
Now as you can see the note pad will have a lot of codes but do not worry about it just go the fourth line as you can see in the picture above which is marked in red.

Change the value from 34 to 1. Your value can be something different then ours depending on the version you use. Once you have done editing the value save it.
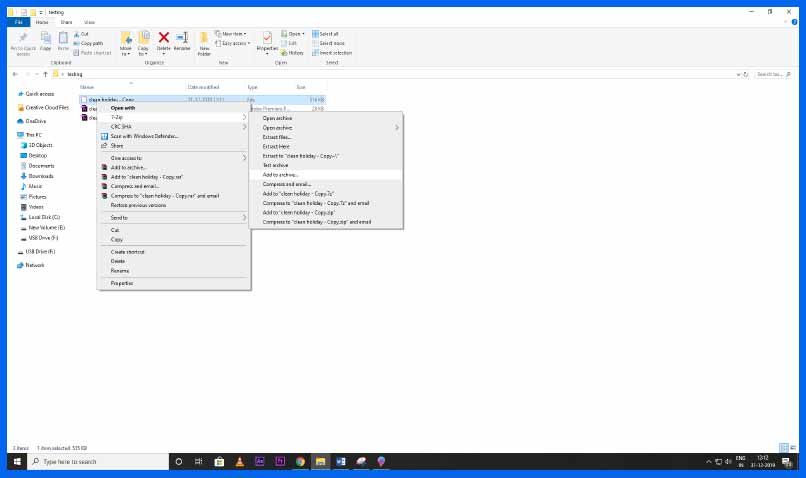
Now again right click on the file go to 7zip and this time click on add to archive.
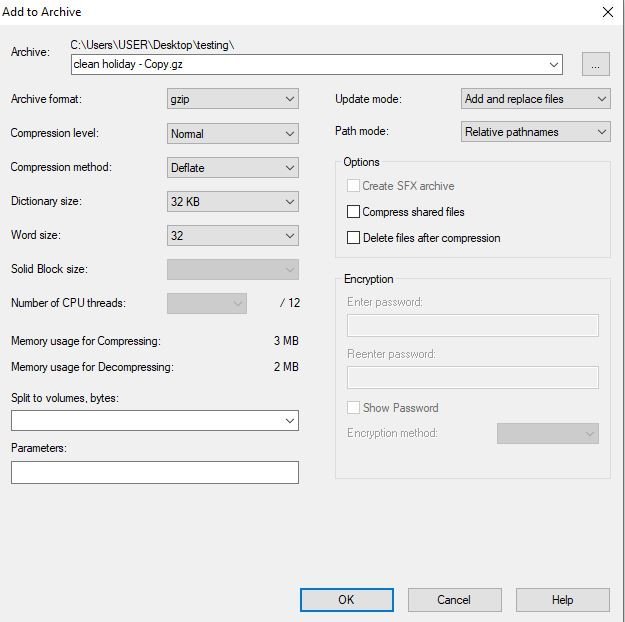
Change to archive format to gzip format and copy all other setting like as mentioned in the above picture and then click ok.
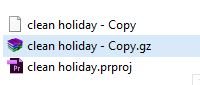
As you can see a new file will pop up with a .gz file format.We are also using winrar so our file has pop up with a winrar format but if you’re only using 7zip your file wont pop as as winrar zip format . You don’t have to worry about it. Now just rename the file from .gz to .prproj. Boom that’s it you file is downgraded. The file will look something like this as mentioned in the picture below.

Just open the file on your premiere pro software and start working on your project. This process can be confusing for you at start but you might get used to it soon. As adobe doesn’t have an option to directly downgrade your project so we will have to go to this process. If this bychance doesn’t work for you or if you’re finding it hard and confusing there is a simpler process using third party websites which will help you to easily downgrade your project files without changing or doing any process with one click. You just have to visit their website and upload your project and click on convert, it will automatically start converting your project to the older version.
Tere are many of the websites which you can try however please read the privacy policy on their website before you upload your project. I am providing the link for a website below you can try it out
I hope this blog helps you if you have any doubt regarding this feel free to email us on freetemplateshop@gmail.com


